Having a lot of dice is awesome. Like, finding a crisp hundred-dollar bill randomly in your coat awesome. But eventually you’ll need somewhere equally awesome to store your dice. Sure, you could throw some ca$h around and get a hoity-toity wooden DnD dice box. OR, and stick with me here, you could DIY that shit AND have fun at the same. Keeping dice hidden away inside an ancient looking tome seemed like a pretty good solution, so I did some research and tried my darndest to create a DnD dice box from an old book. It may not be the most refined method, but it will definitely get the job done.
Today’s Article will Discuss:
- Making a DnD Dice Box: Summary
- Required Ingredients/Tools
- Part 1: Cut
- Part 2: Glue
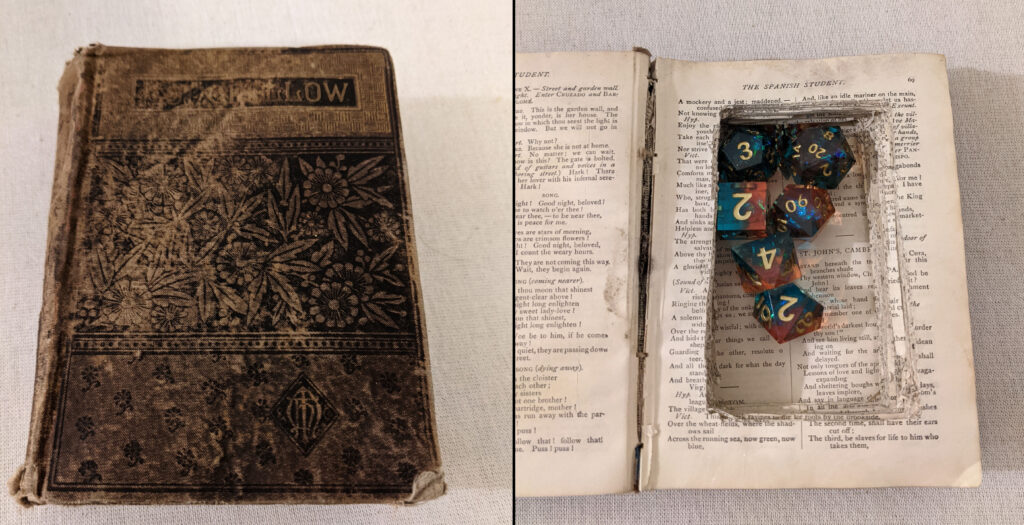
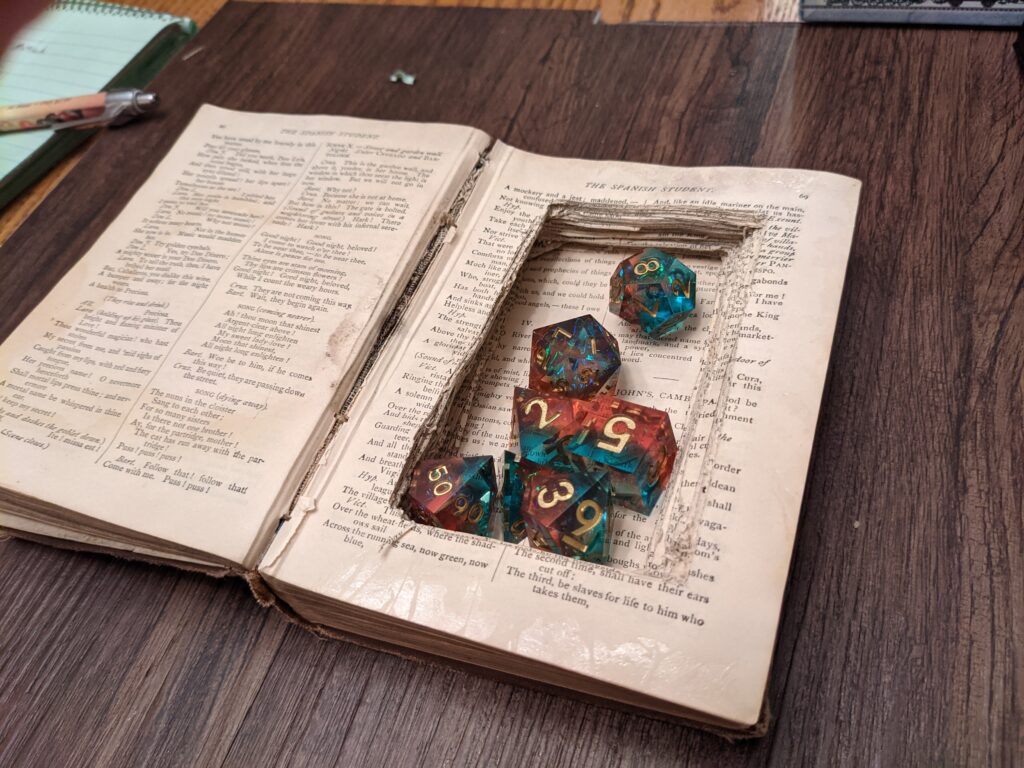
The completed DnD dice box
Making a DnD Dice Box: Summary
The entire process is honestly way simpler than I originally thought. It can be split up into two parts: cutting the pages out, and gluing the pages together.
Essentially you take a book and repeatedly cut out the middle of the pages with a utility knife to form a cavity. This part can take quite a while, so be sure to take your time in order to get nice clean lines. Next, you create a mixture of glue and water and seal the edges of the book closed and let it sit overnight with some heavy pressure applied.
That’s it. Ta-da, dice box.
Required Ingredients + Tools
For Part 1: Cut
- An old ass book. You might already have one laying around, or they can be found at random thrift and antique stores. The closer it looks to a wizard’s spellbook the better.
- Something sharp. I used a box cutter type of knife, but you could use an x-acto or any other similar blade. Bring some extra replacement blades since you want to make clean cuts and ensure the pages don’t rip. Learn from my mistakes on this one.
- Heavy cardboard. To make a cutting guide. This isn’t necessary, but I think it helped me speed up the process and cut the same shape(ish) on every page.
- Straight edge + drawing utensil. Mostly for drawing straight lines to create the cutting guide. Again, this is probably optional but it’s what I did.
The tools and ingredients for Part 1: Cut
For Part 2: Glue
- Gooey mixture. I went with Elmer’s glue and water in a roughly 80/20 ratio. I mostly eyeballed it and everything turned out fine. For reference, it ended up being a milky-looking liquid that was easily applicable with the paint brush. Oh, you’ll also want something to mix it in.
- Paint brush. Any old one will do. Honestly if you don’t have a paint brush, you could just put some of the gooey mixture onto a paper towel and use that to coat the pages.
- Protective layer. This is technically optional, but I highly highly recommend it. Cling wrap is what I used, but you just need something that can protect the covers from getting glue on them
- Something heavy. A bunch of books, or a vase, or a rock. You get the idea. This is to keep the book pressed together while the glue dries. You could also use a vice grip I reckon
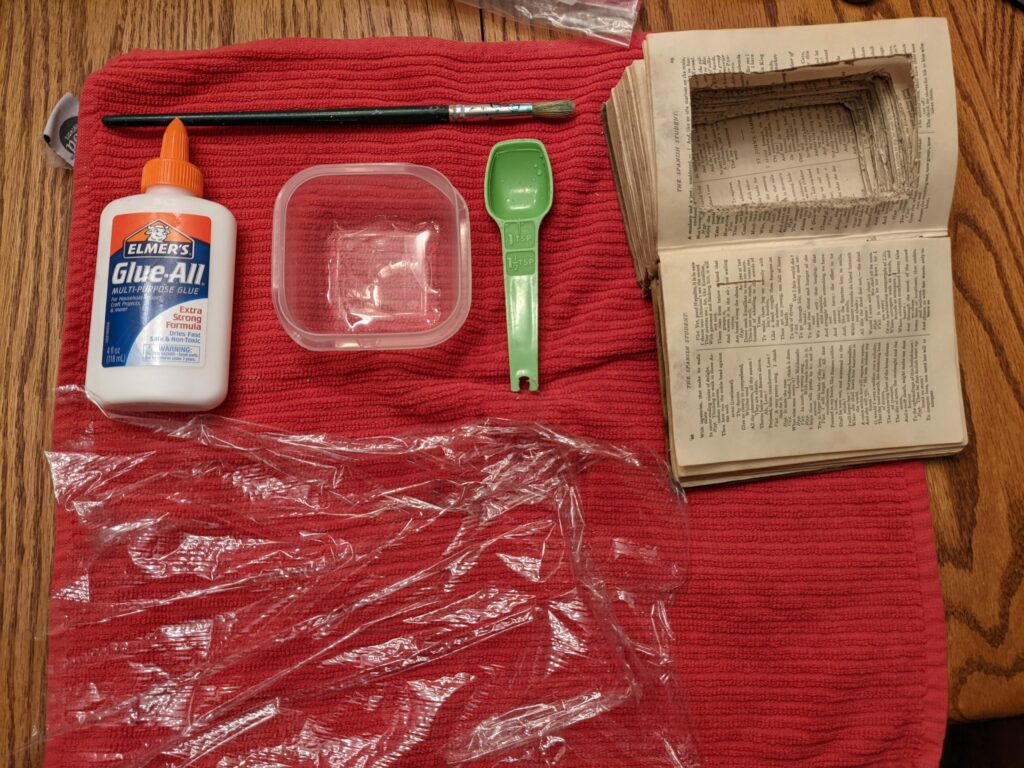
The tools and ingredients for Part 2: Glue
Part 1: Cut
Before we start hacking up the pages and making an absolute mess of the book, we’ll be creating the cutting guide out of some heavy duty cardboard. The more durable the cardboard the better, since you’ll be running a blade along the edge over and over again. It will help if the cardboard is not corrugated.
Now take your piece of cardboard and line it up with the interior pages of your book. The goal here is to cut a piece of cardboard that is the same exact size as one of the pages in the book.
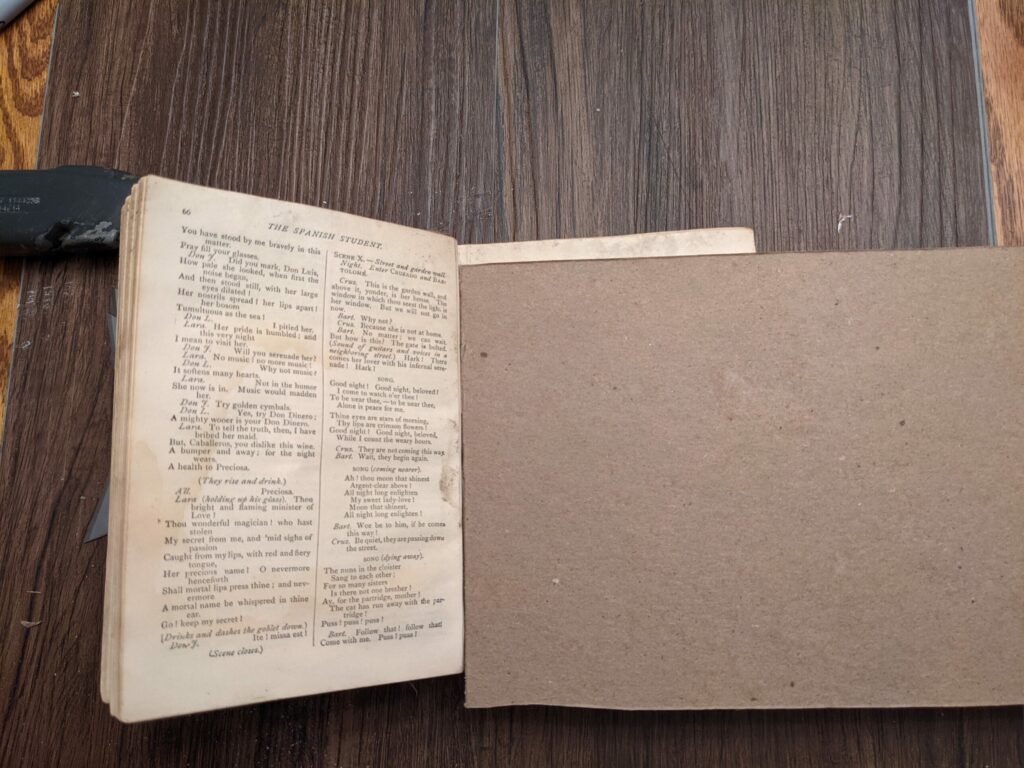
I took my sharpie and marked the location of the top and bottom of the page, and then connected these two lines with my straight edge. Then, you can go ahead and cut it.
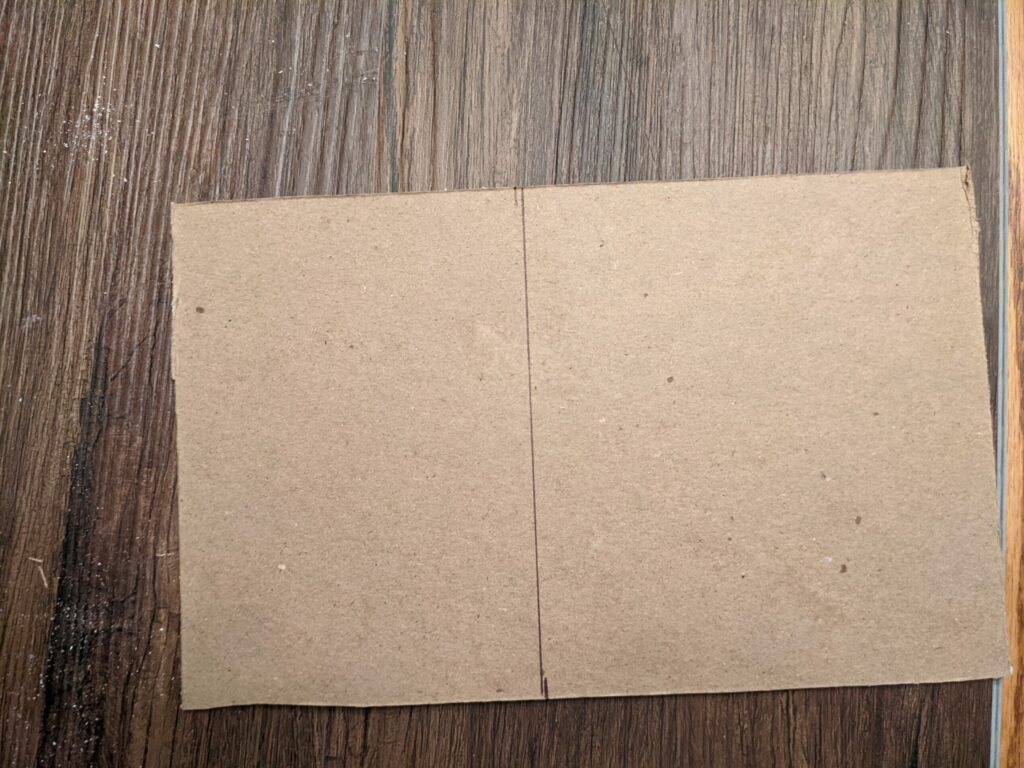
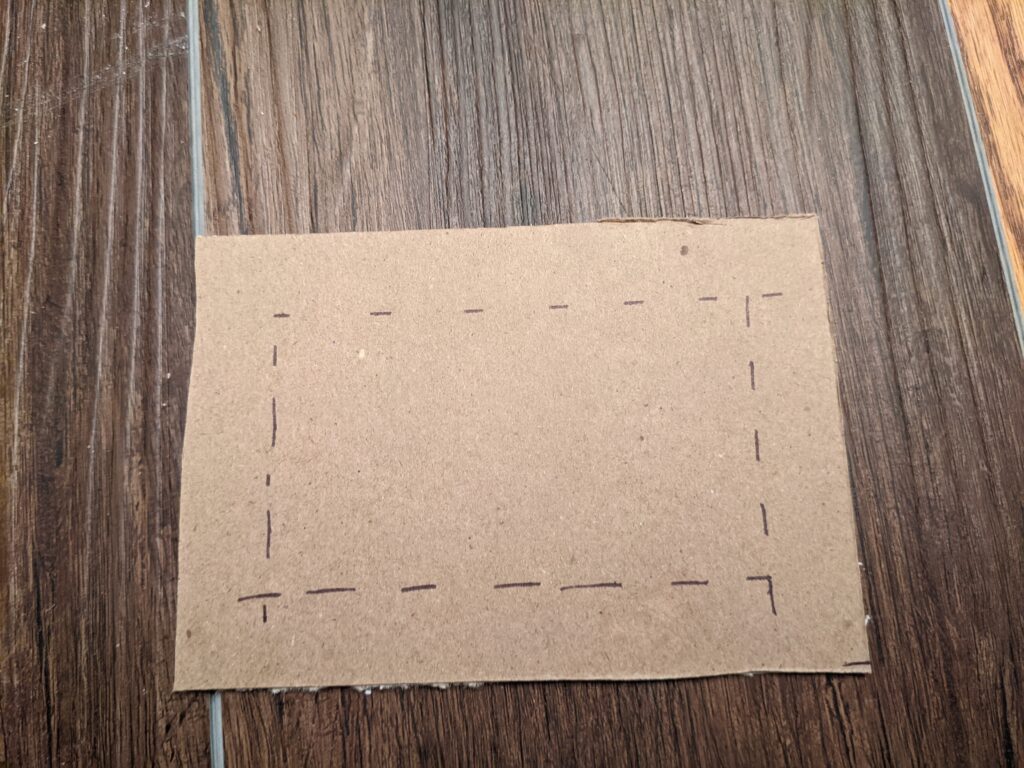
The next step is to decide how large of a hidey-hole you want. I went about an inch in from each of the edges, marked these lines, and cut it out so that the piece of cardboard looked like a picture frame. Also, you’ll probably want to use the straight edge to guide your cutting for this part since this shape will get traced over and over and over and over and over again.
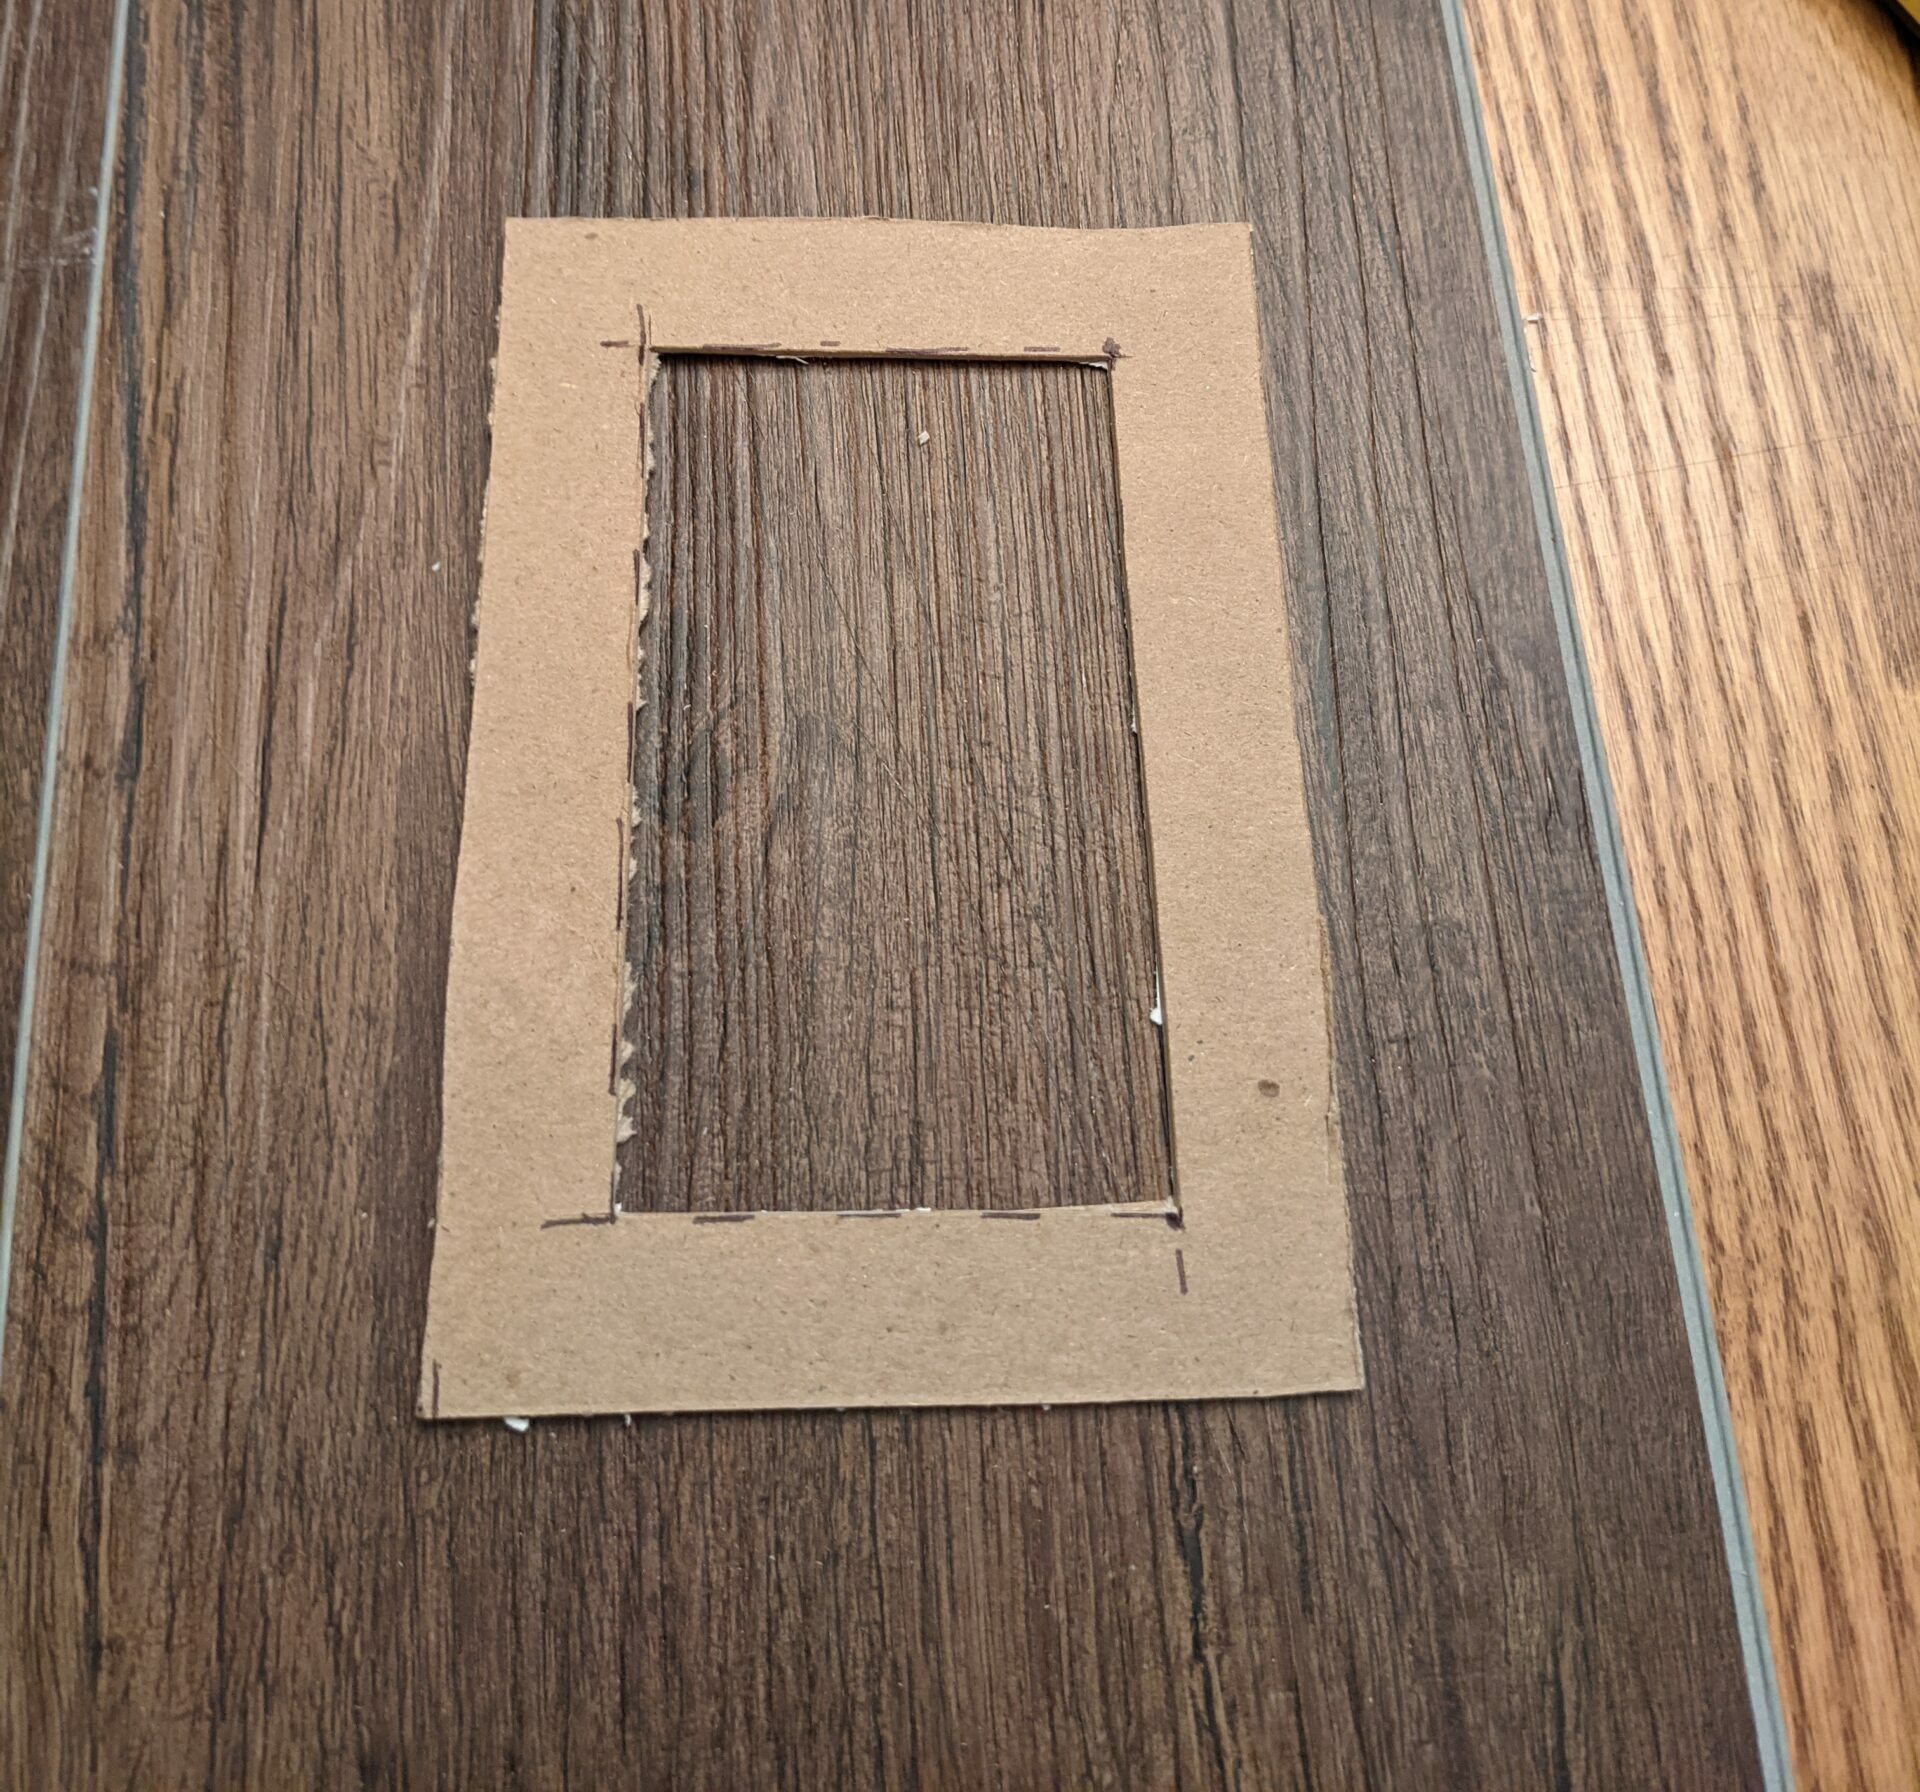
With that all said and done, it’s finally time to begin cutting the pages. I skipped ahead in the book about ~50 pages before I started actually cutting, but this is totally up to personal preference and will probably depend on the overall size and length of the book you use.
Place your guide on top of your page and begin to cut around the inside edges of your guide. Make sure you start with a fresh blade. Nice clean cuts are key in having ‘smooth’ walls of your hidey hole as I learned the hard way. Also knives are sharp and stuff so if your Dex score isn’t very high then be sure to use caution.
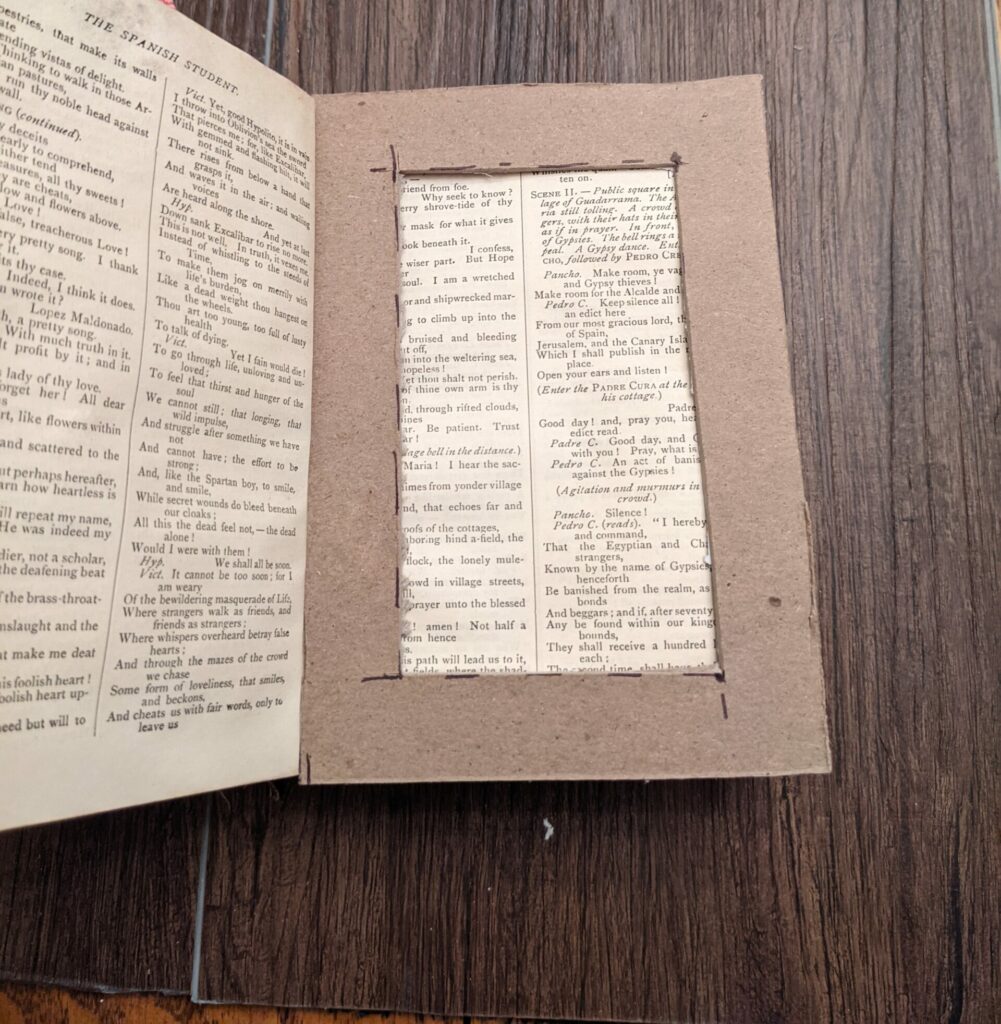
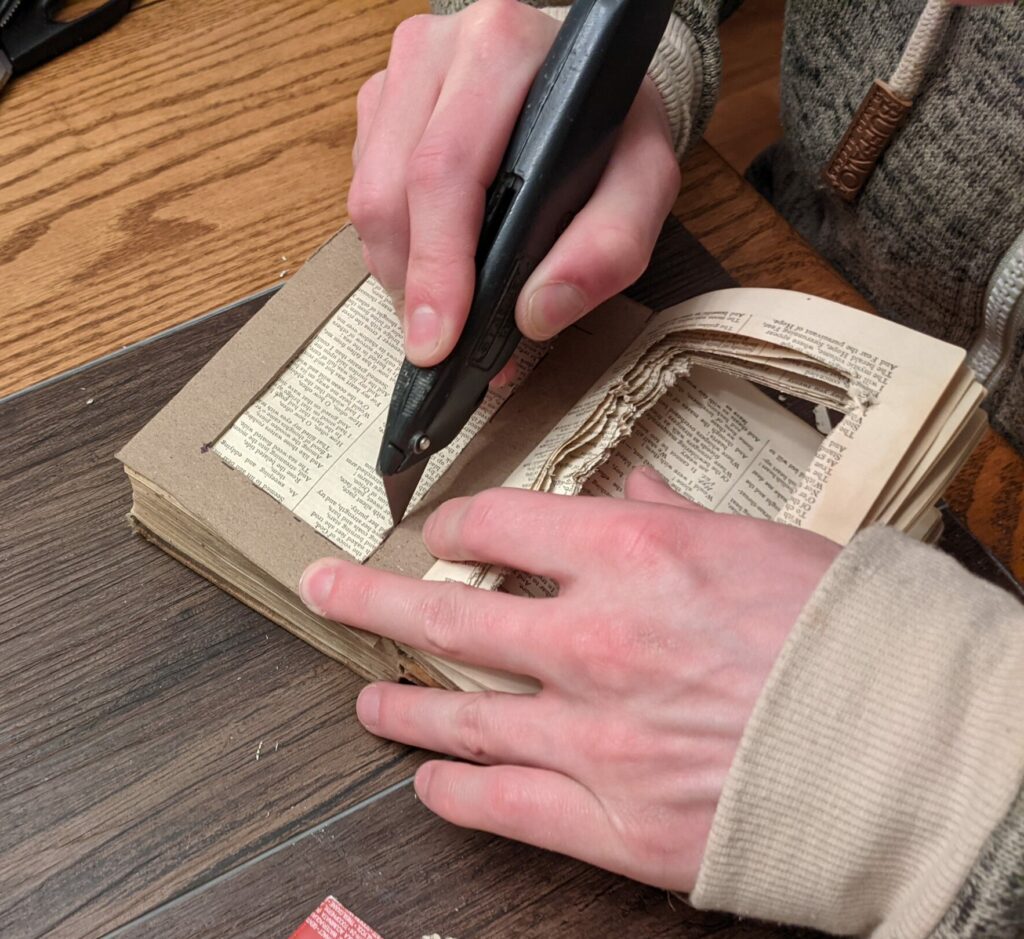
In the image, you can see that my interior edge is all ripped and not a clean line at all. I later changed my cutting strategy and this helped a lot, but I just never went back and cleaned it up (Side note: with my book being so small, as I turned pages and got further along the pages were slowly shifting. I think having a larger book, or not cutting with the book completely open would solve this)
Tips for cutting clean lines:
- Only cut a few pages at a time
- Be firm, but don’t shove the knife towards the page
- Watch out for corners, I had a little trouble with them
- Every few pages that get cut, take them out and move them out of the way
- Change blades as needed. The sharper the blade, the easier it cuts through without ripping. If the pages in your book are old, they may be weaker and more prone to ripping
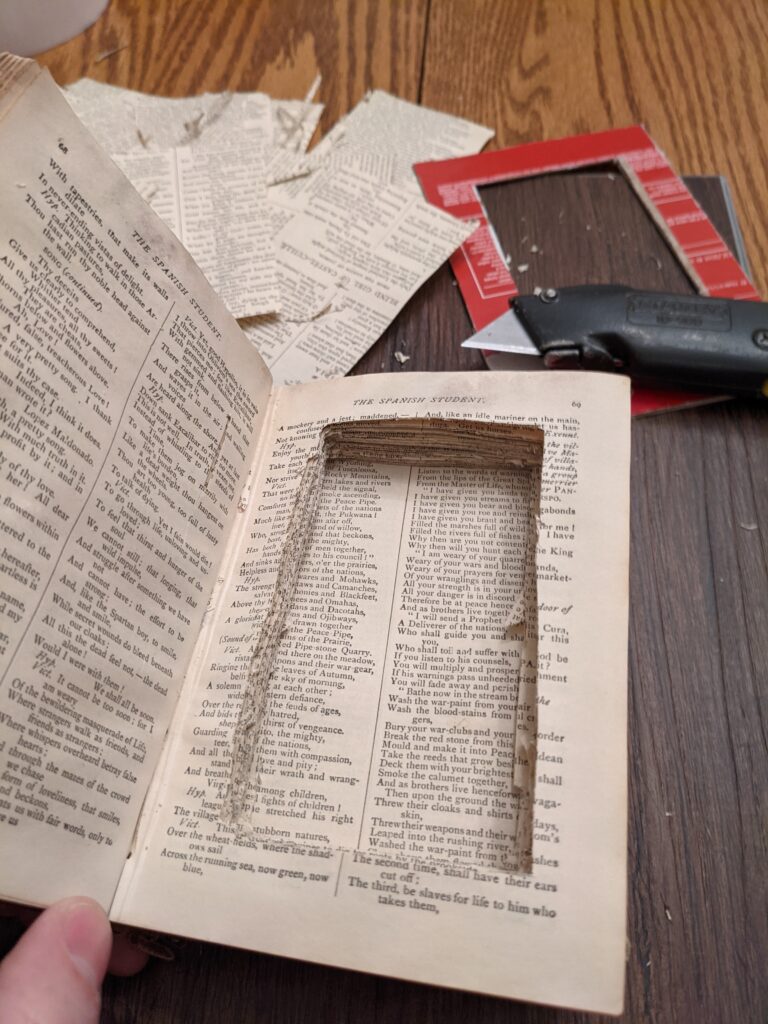
Overall the pages are much better in this one – especially top and bottom – but it could use a little more cleaning up
When you think you’re getting close to the end, be sure to test out the space and make sure that it’s deep enough to store your dice. As you’re comparing, be sure to press down on the pages as they’ll be compressed a bit in the final dice box. I probably should have gone a little bit deeper with mine, but it takes a long time to cut out a few hundred pages and I wanted to move on.
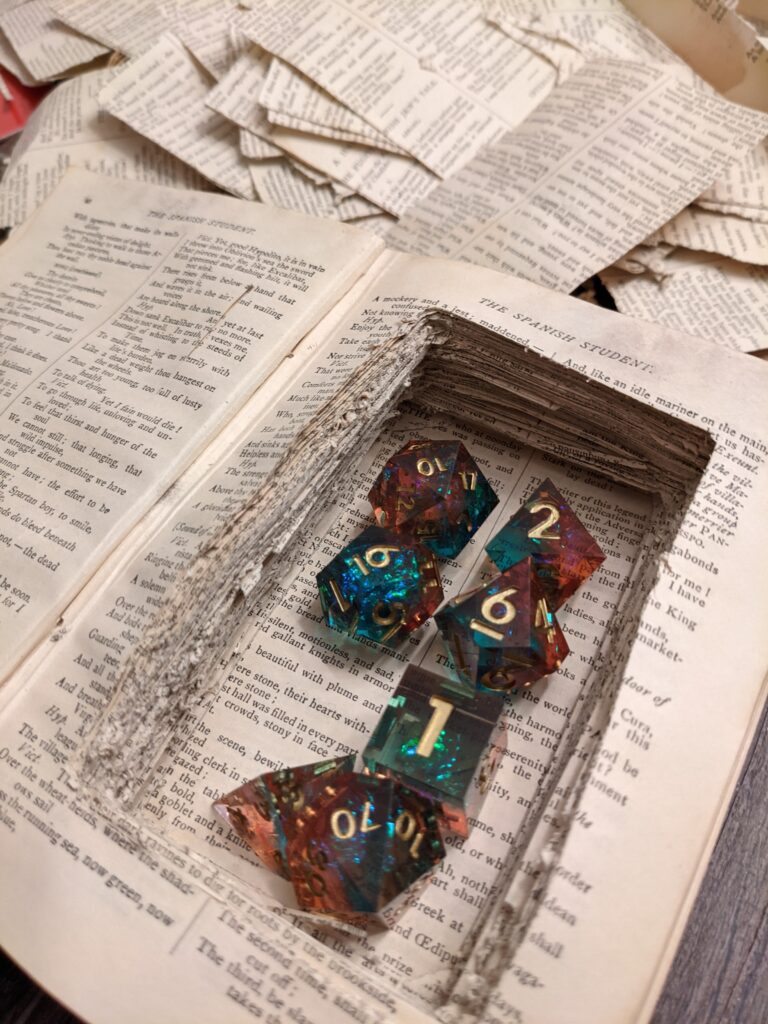
If you’re satisfied with how your DnD dice box is coming along, move on to part 2!
Part 2: Gluing
To make the gooey mixture, measure out elmer’s glue and water in roughly an 80/20 ratio. I thought I would need the tablespoon, but that turned out to be way too much and it was taking a long time to fill from the glue bottle. The tablespoon was probably between 2/3 and 3/4 full of glue. Then I added a splash of water to it, about the size of a skittle, and homogenized the mixture.
Next, you must ensure that the glue does not get anyplace that you don’t want it to. To do this, grab your protective layer and wrap up the places that aren’t going to be glued. For me, this was the front cover and the initial uncut pages. When adding the protective layer, consider whether you want a few loose pages in the back of the book or if you want it completely sealed.
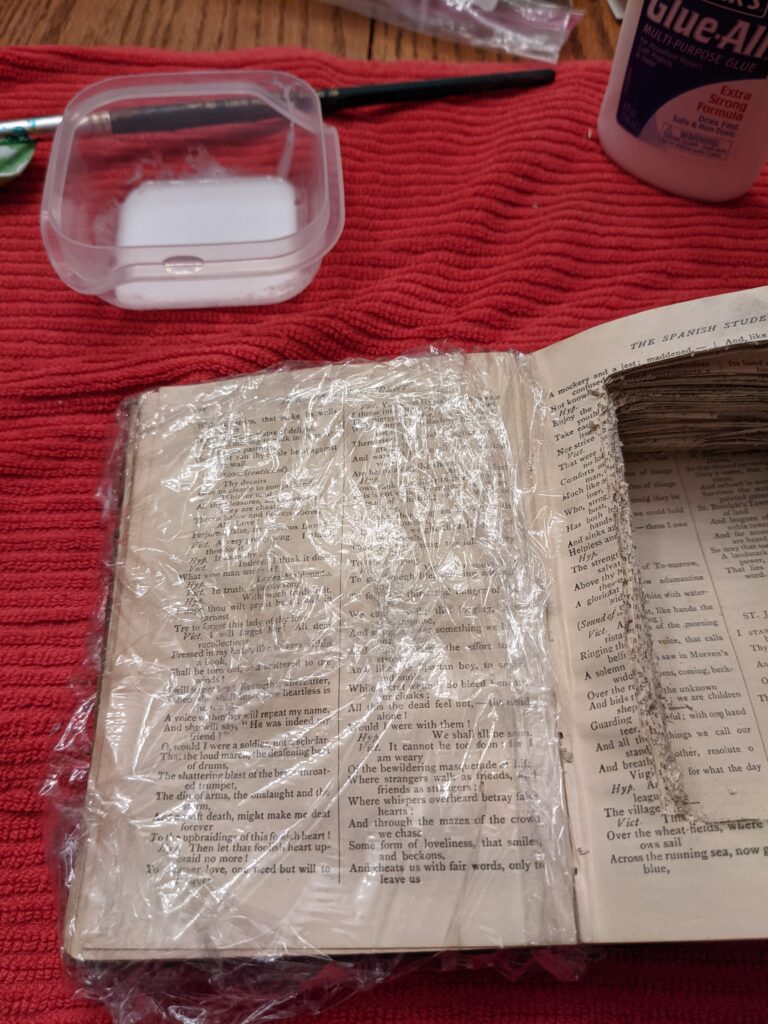
I started with applying the paint to the interior edge of the cavity, and then moved on the the outer edge. You don’t want to just slop it all over the place. When it dries, the point is to not even notice that the glue is there. With the paintbrush, I was easily able to apply the glue mixture.
When you’re applying the glue to the outside layer, I began with the pages loose so that I could get glue a little bit deeper into the book. Then, I squeezed the book and used the paintbrush to spread whatever glue oozes out from between the pages.
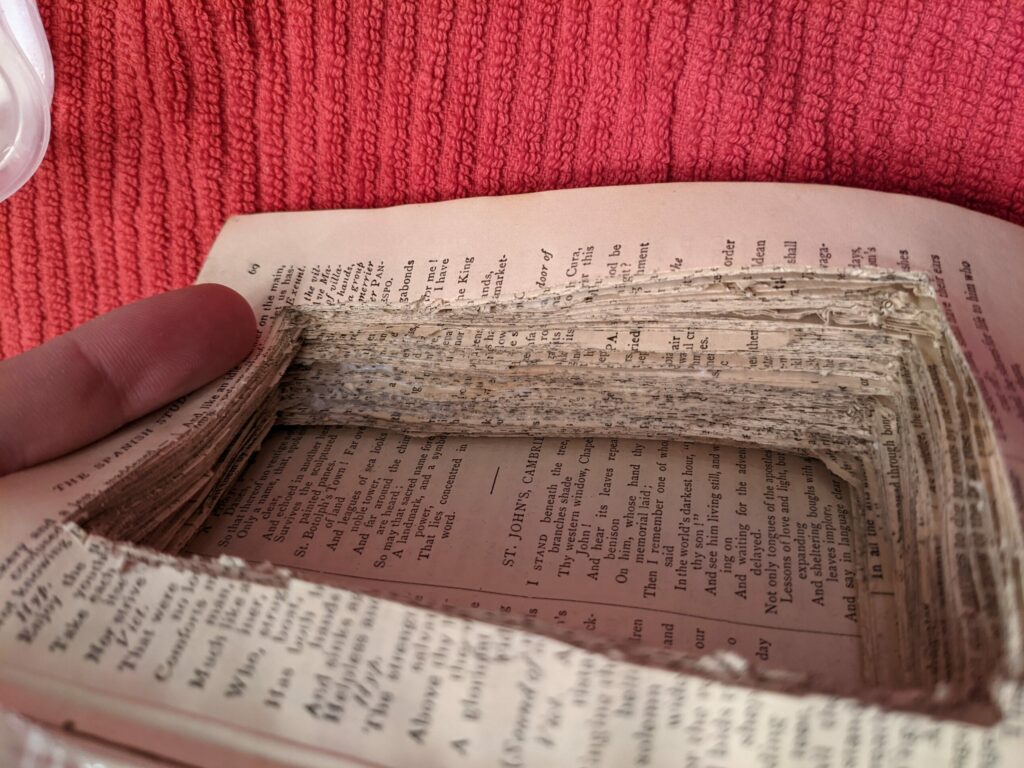 You can’t really tell, but there’s some wet glue on the interior edge in this image.
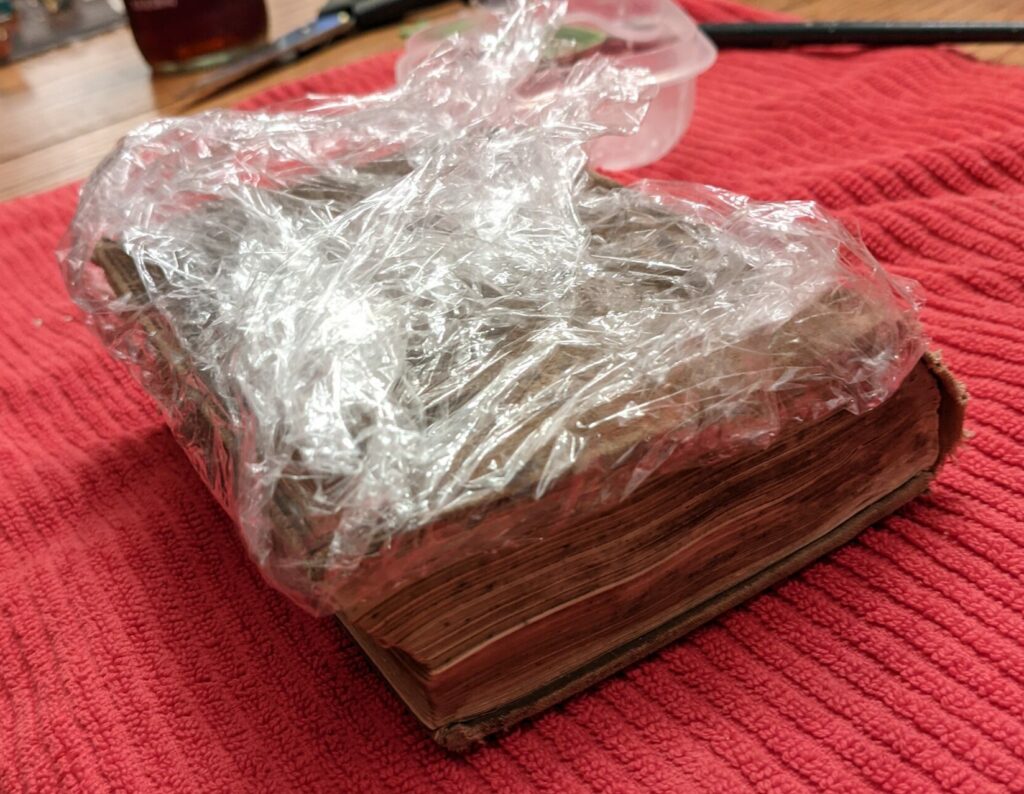
The fully glued book!
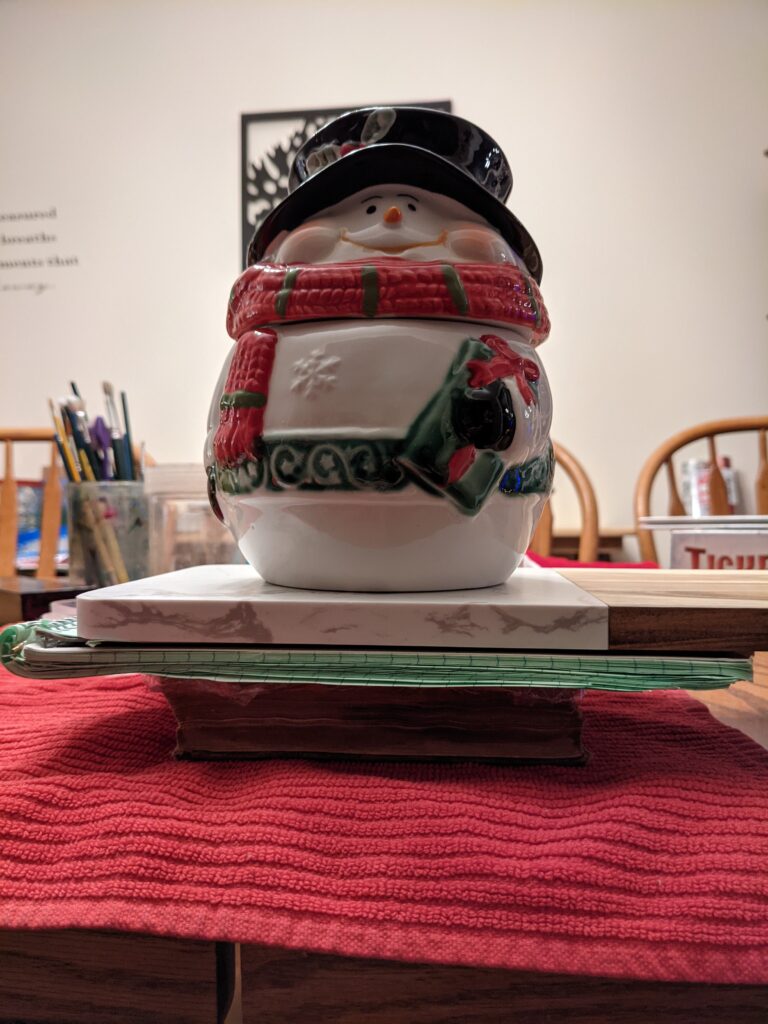
At this point, all you need to do is apply some pressure to the book and wait for the glue to dry. I used a bunch of random things that I had laying around and waited overnight and it was perfectly fine. You may not have to wait that long, just use your best judgement. You’re now free to do other things such as hang out with cats.

If you want to really ball out and make this as fancy as possible, here’s a few different option you can add to your DnD dice box:
- Add a foam insert into the book with the shapes of a dice set cut out
- Add some nice velvety thing to the bottom of the hidey hole
- Add a latch, clasp, or rope to keep the book closed
- Have the bottom of the hidey hole be a book page with an image
Thank for reading, I hope you found this helpful and are able to make your own DnD dice box out of an old book. If you have any questions about/during the process, send me an email to aaron@thealpinedm.com!


FREE 5 day email course
Be sure to join the email list to sign up for the FREE 5-day email course centered on running your very own homebrew campaign! You'll learn everything you need to get started, from designing a story arc to reacting to (unexpected) player choices.
How to Beat Lorroakan in Baldur’s Gate 3
Beat Lorroakan in Baldur's Gate 3 (BG3) in a single...
Read MoreDnD Magic Tattoos (for non-chumps)
Want to use dnd magic tattoos? Learn how to give...
Read MoreBaldur’s Gate 3 | Blood of Lathander Guide (NO COMBAT)
Learn how to get the legendary Blood of Lathander mace...
Read More


