
Today I’m going to show you how to beat the Baldurs Gate 3 ‘Blood of Lathander’ quest for a legendary item in just a few minutes, all without any combat. Now of course, you can always just fight your way through the creche (or anything in Baldur’s Gate really…) but it’s way faster if you don’t. I’m also pretty sure that this quest would be easier if you had Lae’zel in your party, but she decided to make me choose between her and Shadowheart… and well, now I don’t have a Githyanki in my party.
Today’s Article Will Discuss:
- Things You Will Need
- Travel to Monastery
- Ceremonial Weapon Puzzle
- Go to Lower Level
- Persuade Your Way In
- Captains Quarters
- Misty Steppin’
- Statue Puzzle
- Final Steps
Thing You Will Need
There’s a few different ways that you can beat the Blood of Lathander quest in Baldur’s Gate 3 and get the legendary mace, but for this specific guide that does it without combat, here is what you’ll need.
- A PC who can Misty Step
- A very sneaky PC who can steal / lockpick
- Maybe grease (either a bottle, or the spell)
That’s it! It’s a pretty straightforward guide so let’s just get to it!
Travel to Monastery

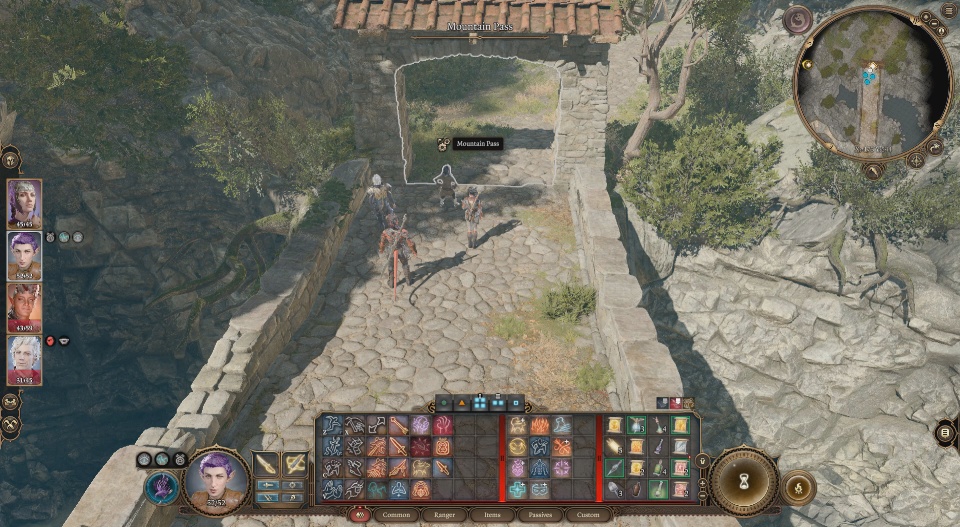
On this new map, travel north east until you get to the monastery. You can either jump along some cliffs or use a gondola-type thing, but either way it’s pretty difficult to miss. Once you’re there head down the main stairs towards the front entrance.
As soon as the area opens up, there is a pile of crates and boxes. Jump on top of these and then climb up the vines to get to the upper level.
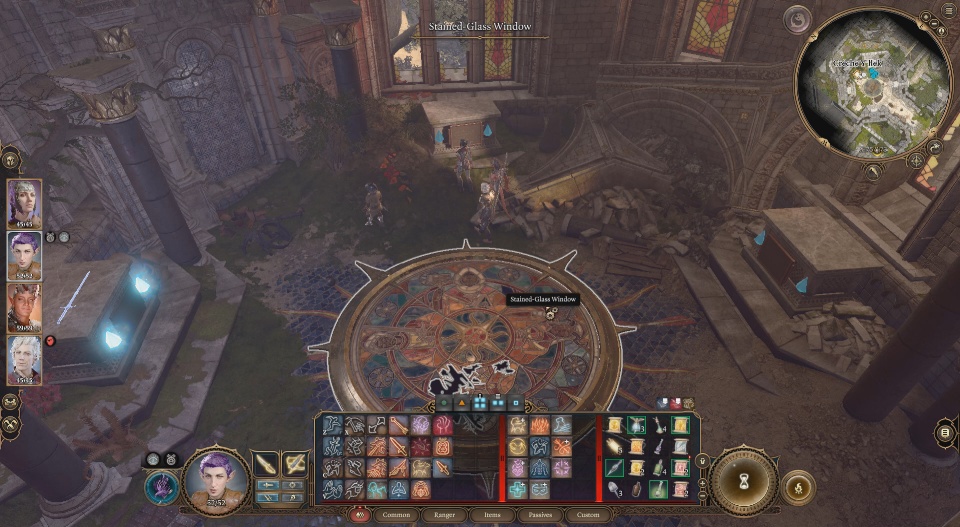
From the top of the vines, travel north down the hallway a short distance and then make your way into the room with a stained glass window on the floor
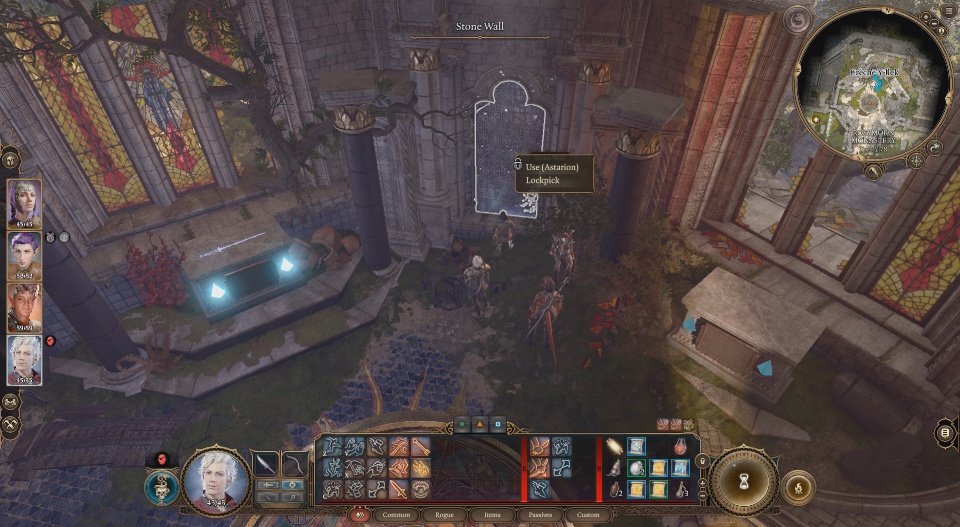
Ceremonial Weapon Puzzle
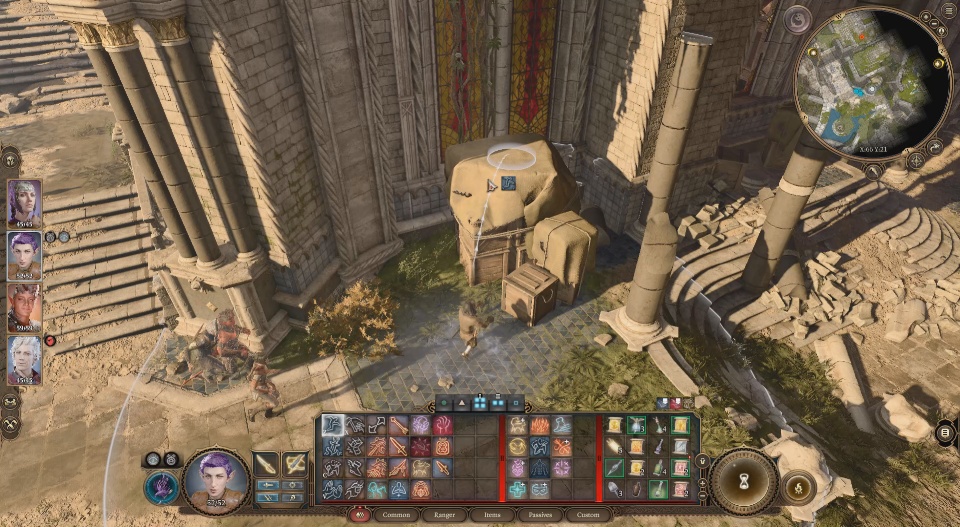
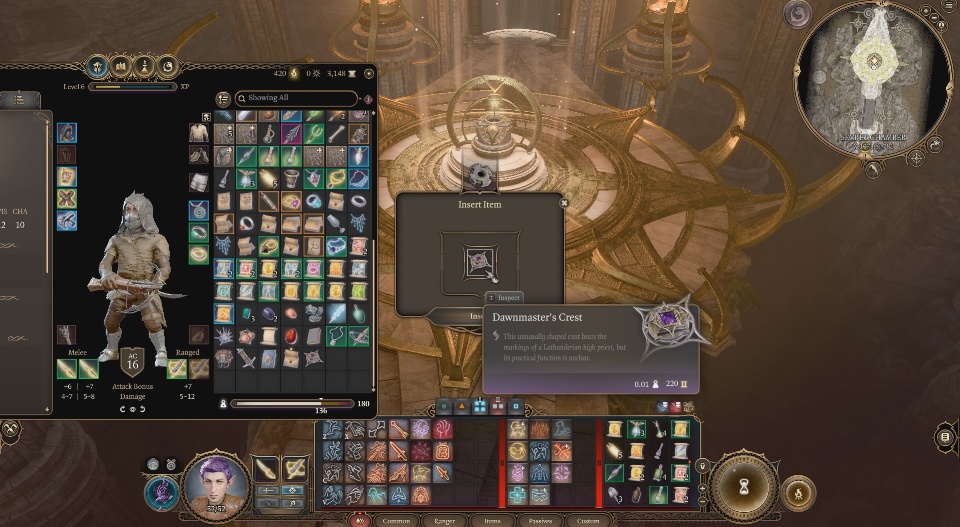
In this room, you’ll face the first puzzle of the quest. To actually complete it you just need to get a weapon of the appropriate type (mace, battleaxe, and warhammer) placed onto the correct altar. There are ceremonial versions of these weapons throughout the monastery, but any old weapon will do.
Of course, we’re going to skip that part completely and just steal some shit. It’s a really high DC, so use any bonuses or inspiration that you may need unless you want to go find the right weapons. Anyway, it’s called the Dawnmaster’s Crest and you should bring it with you.
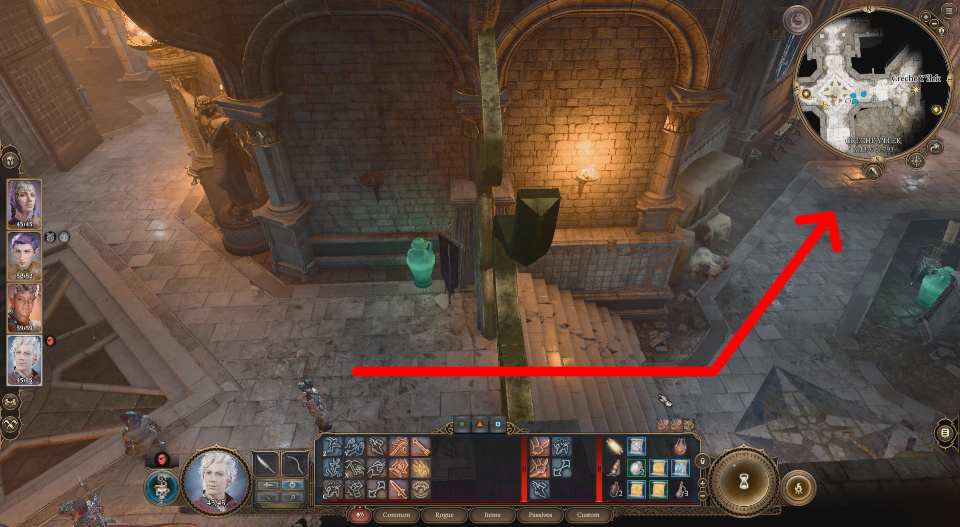
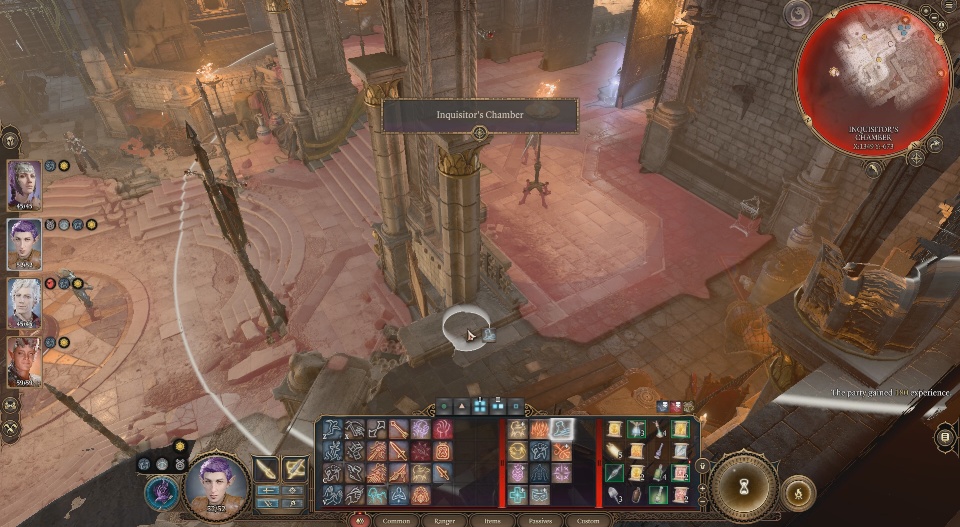
Go to Lower Level
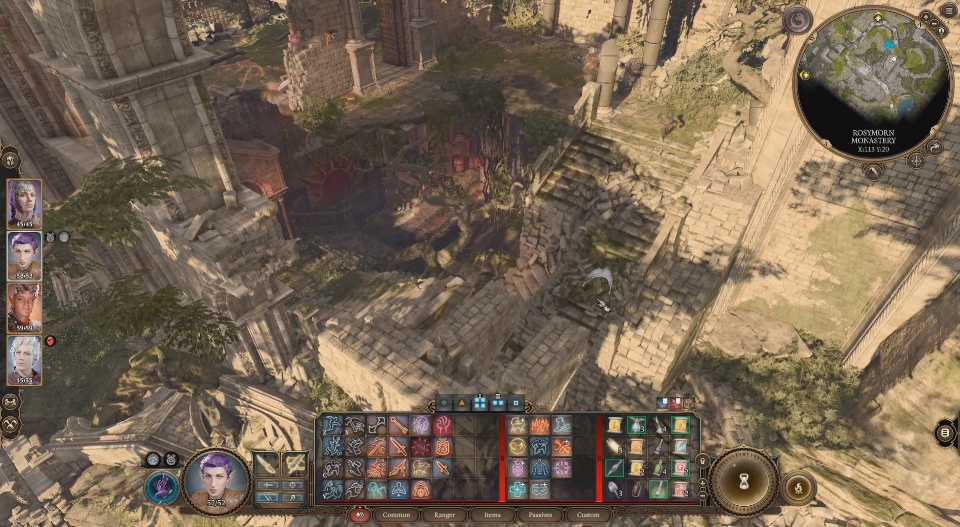
After you get the Dawnmaster’s Crest, head south east – jumping over the broken section – and descend the winding and crumbling staircase. Keep going along the lower wall until you come to a barricade.

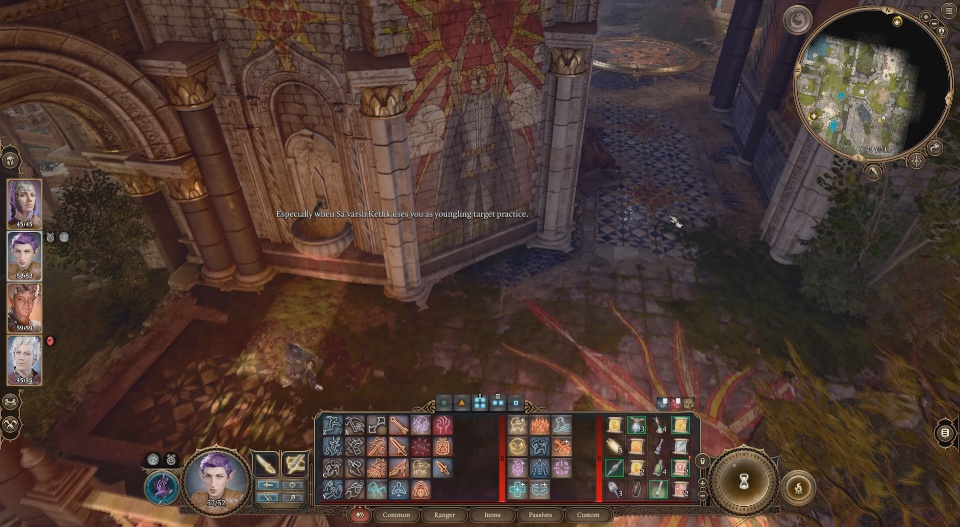
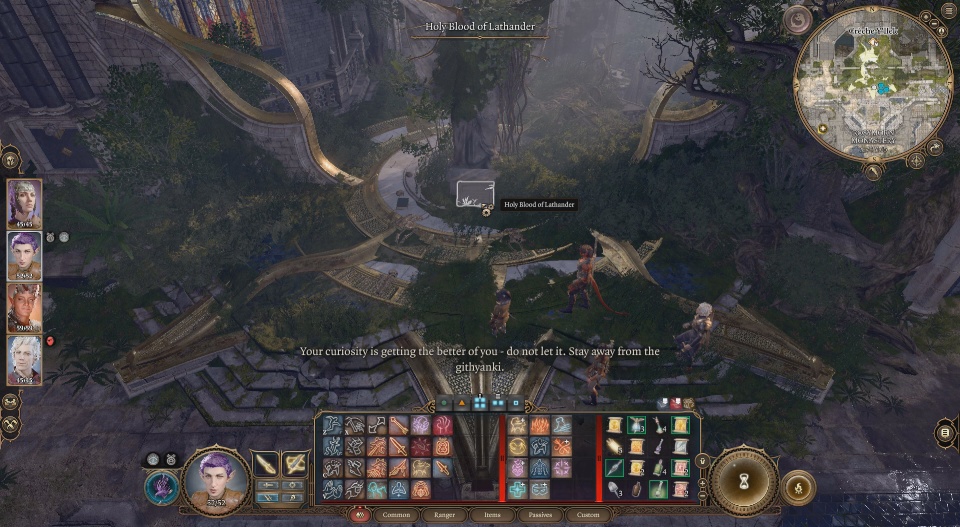
After smashing through the barricade, go through the door immediately to your right and enter into the over grown area. Walk over to the statue and read the plaque to officially begin the quest (I think?) and then continue down the nearby set of stairs and into the basement.
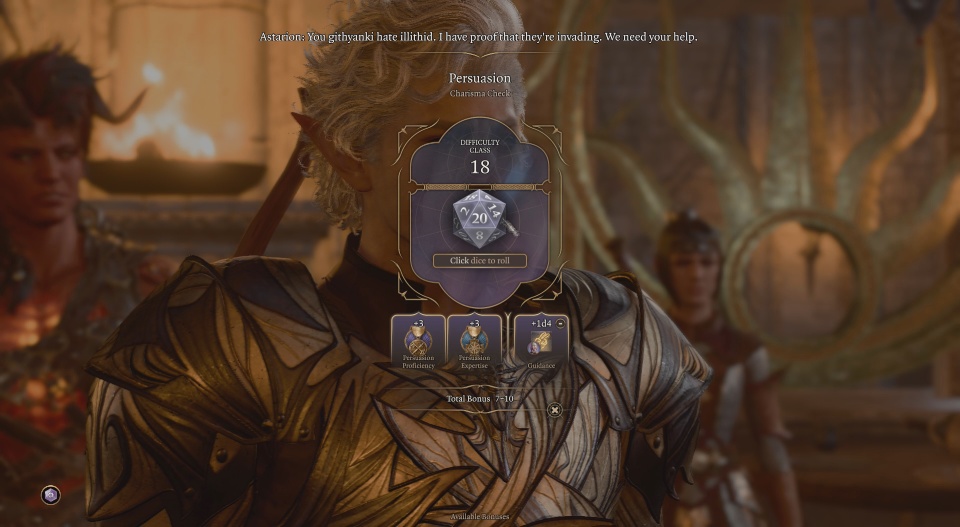
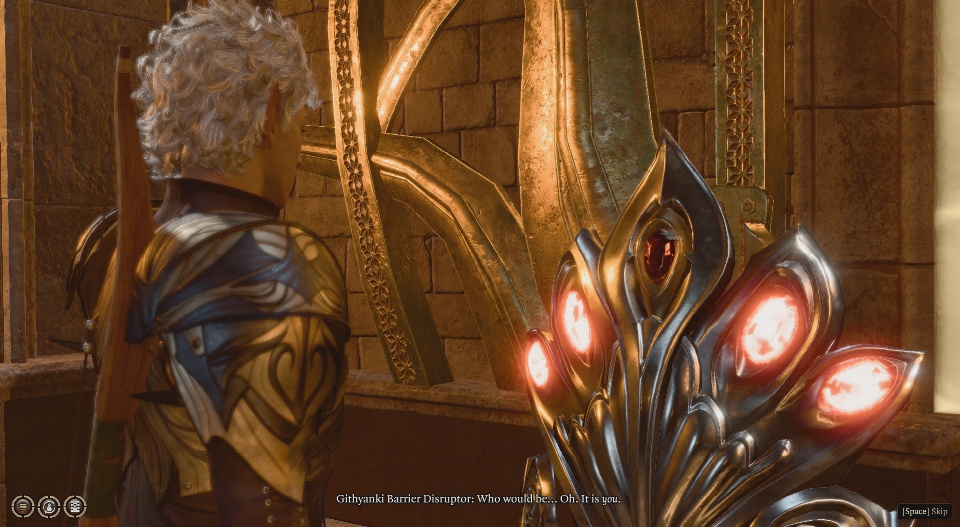
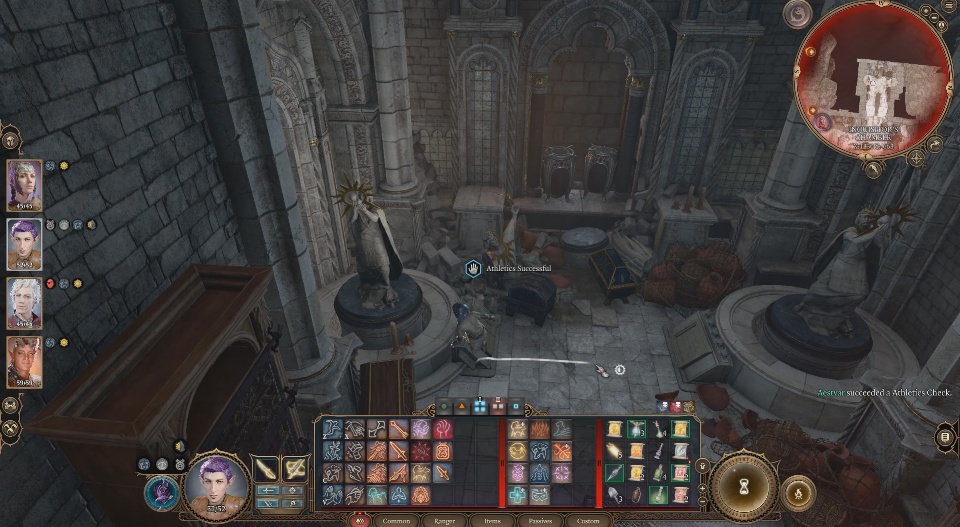
 Persuade Your Way In
Once in the basement, proceed straight ahead and find a way to get past the Githyanki guarding the area. You can either persuade them, intimidate them, kill them, or find a way to sneak past. I used my most Charismatic character and found success with persuasion.
Head to the junction and take a hard right, followed by a slight left turn to get into the Captain’s Quarters.
Captain’s Quarters
From here, grab your stealthy person (Astarion again, in my case) and carefully walk behind the Captain to pickpocket her and take the Gith Stone
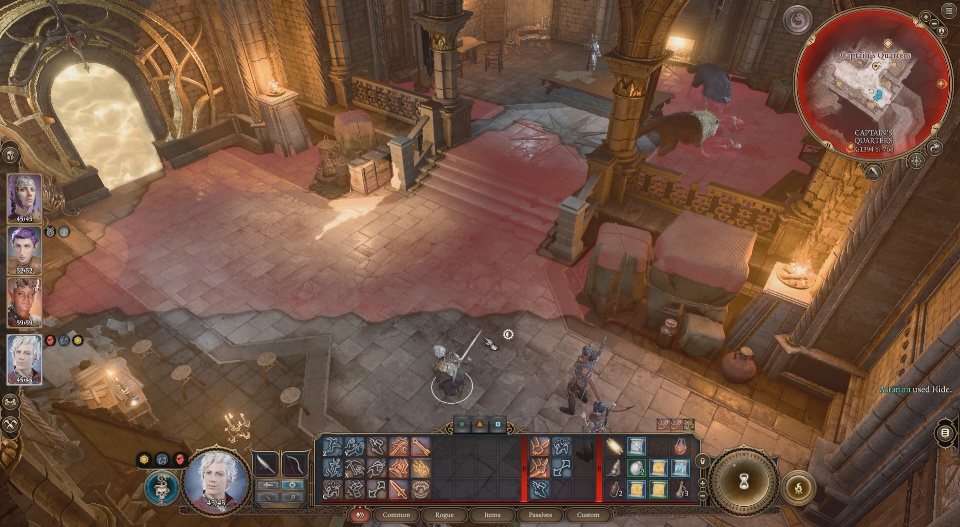
Next, take the stone and place it into the funny contraption near the energy barrier doorway. The Captain might chase you down and inquire about thievery, so you’ll have to convince her that you didn’t have anything to do with it.
Place the Gith Stone in the device and continue into the next area down the long hallway.
Misty Steppin’
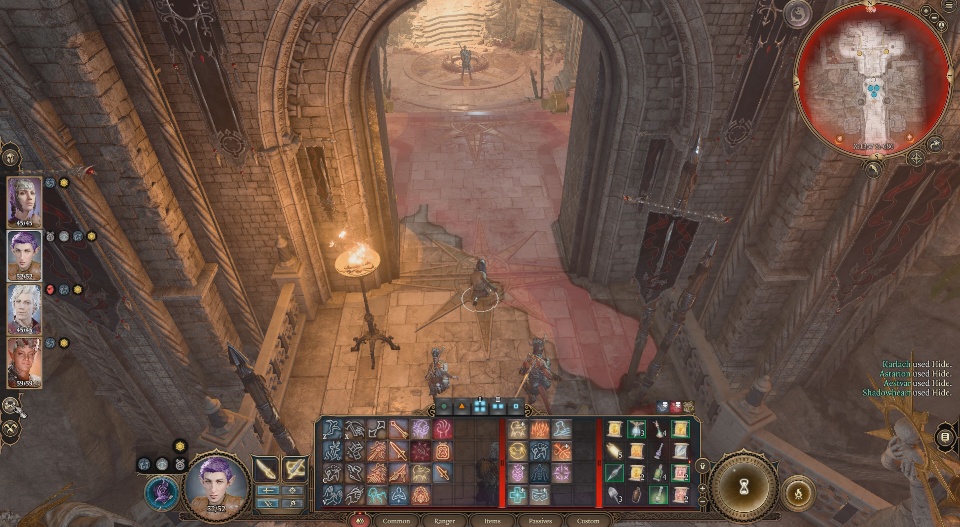

Statue Puzzle
The two statues in this room need to be rotated a certain way in order for a secret door to be revealed. The statue on the right must be rotated so that it’s facing east, and the statue on the left must be rotated so it’s facing west. This statue has an Athletics Check associated with it, and if you’re unable to turn it you can use the bottle of grease to help get things moving.
Final Steps
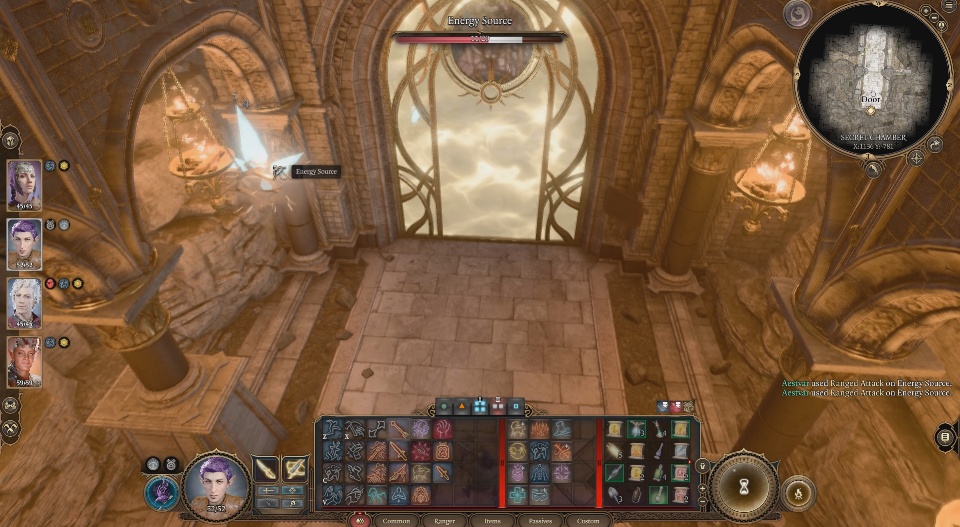
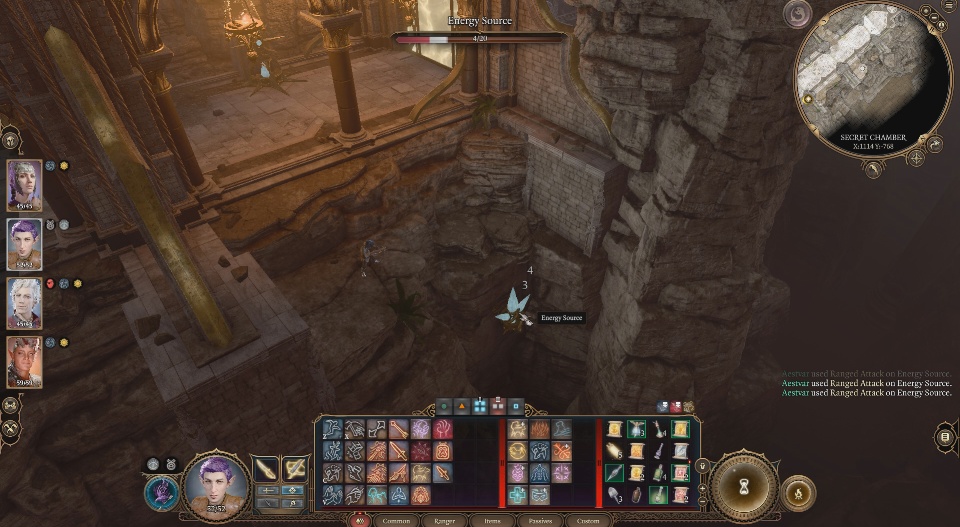
In the next area, you will need to attack the crystal thingy hanging from the ceiling a couple times in order to deactivate the energy gate and proceed.
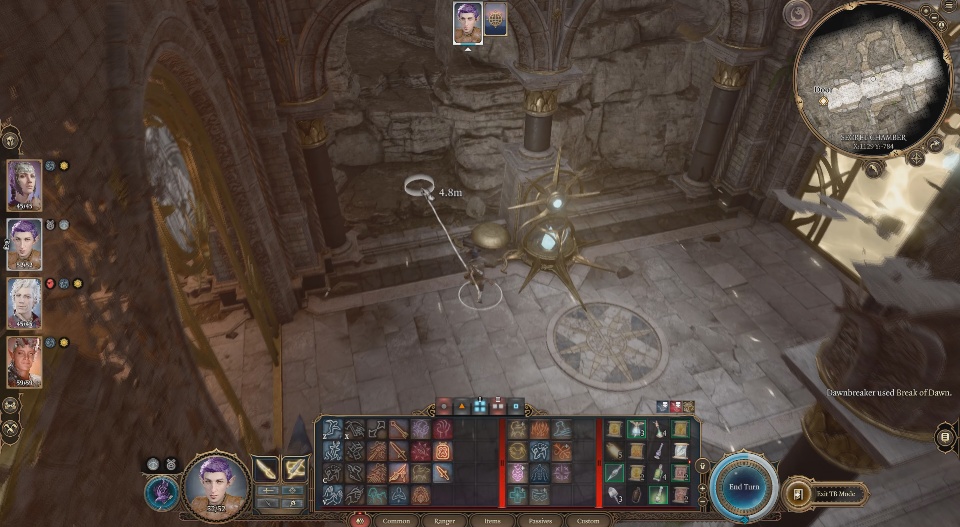
In this room, you can deactivate the device if you want, but otherwise you can climb onto these rocks back here and sneak around. The next device that you come to should definitely be disarmed though. As you can see below, the final crystal is a little ways below – so you can’t be having these ‘waves’ going off repeatedly.
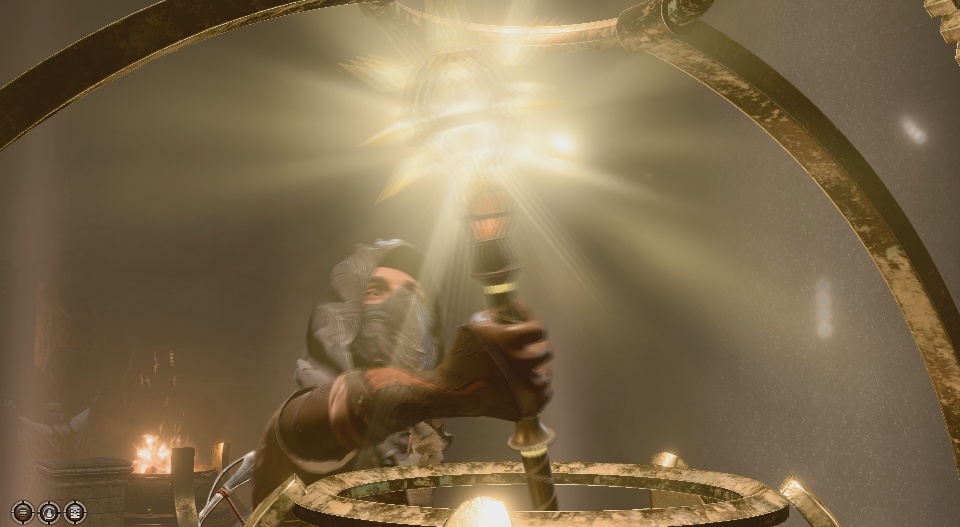
With that out of the way, you’re pretty much finished with the quest! Head up the stairs and put the Dawnmaster’s Crest into the machine and TA-DA!
Thanks for reading! If you found this helpful I would really appreciate you checking out the Youtube channel and subscribing or sharing this article with a friend.


Running Tomb of Annihilation: 1 Year Review
After running tomb of annihilation for a year, here's the...
Read More
Making DnD Homebrew Monsters in 5 Steps
Do you want to design awesome DnD Homebrew monsters but...
Read More
Creating a D&D Pantheon
Unleash your inner creativity and learn how to create gods...
Read More